In this tutorial will show you how to install and run your own Redmine application within Cloudjiffy Cloud Platform-as-Infrastructure.
The process is simple.
Find the full list of applications available for one-click installation at our Marketplace page.
In case you would like to configure and run your Redmine instance manually, just follow the step-by-step instruction below.
A. Environment Creation
1. Log in to Cloudjiffy Platform and click Create environment button.
2. Navigate to the Ruby tab, pick Apache as your application server and MySQL as database you want to use. Specify cloudlet limits for chosen nodes, name your environment (e.g. redmine) and click Create.
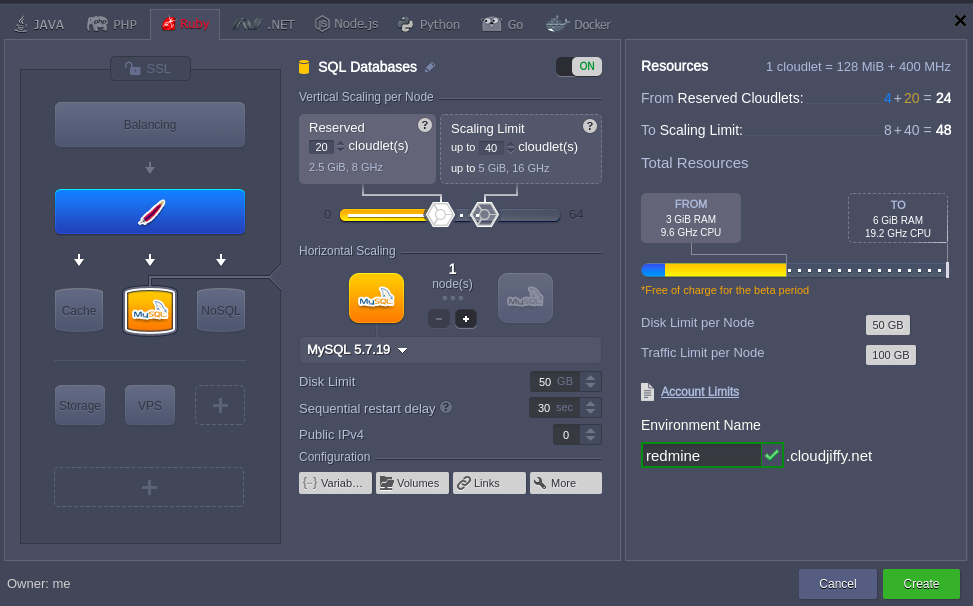
3. Wait for creation to complete, it will take just a minute.

B. Redmine Deployment
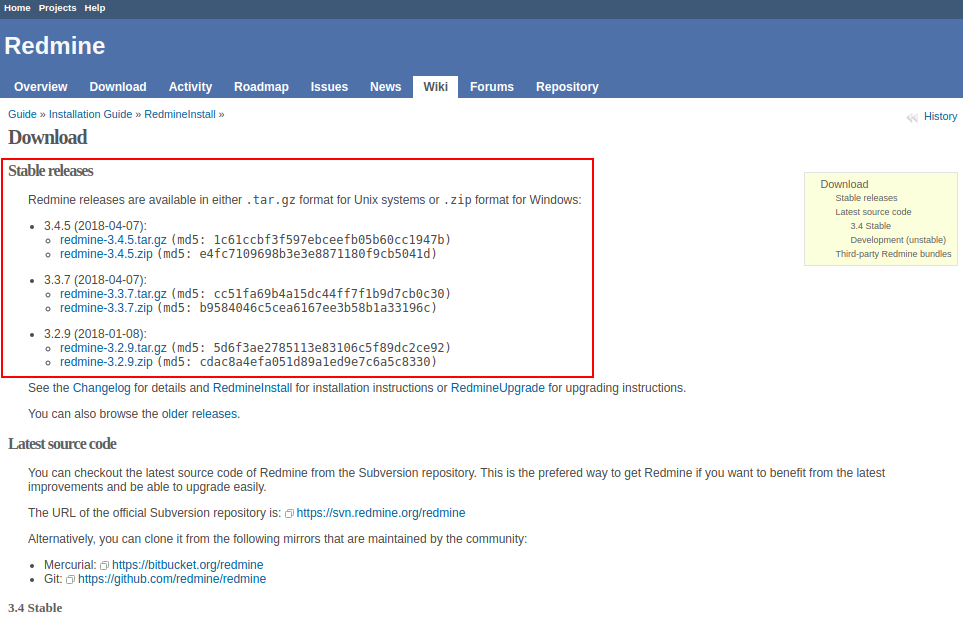
1. Open the official Redmine web-site and download its latest stable release as .tar.gz or .zip archive.
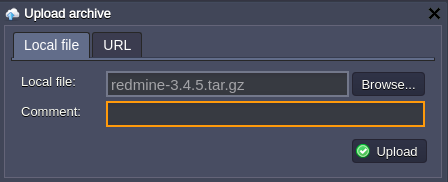
2. Navigate back to the Cloudjiffy dashboard and upload this archive via Deployment Manager.
3. Finally, deploy the Redmine package to the created before environment.
For that click the Deploy to.. button next to the uploaded archive and choose desired environment.
Then select the application deployment type (Production in our case) and click Deploy button.
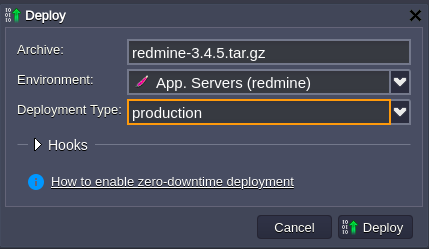
In a few moments Redmine will be hosted within chosen environment.
C. Database Configurations
1. Press Open in browser button for MySQL node in the environment.

2. Log in to the admin panel using credentials Cloudjiffy sent you after environment creation. Navigate to the SQL tab.
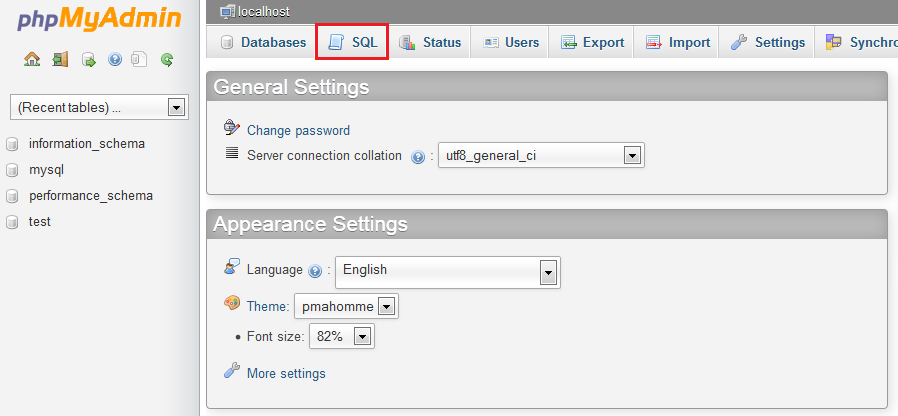
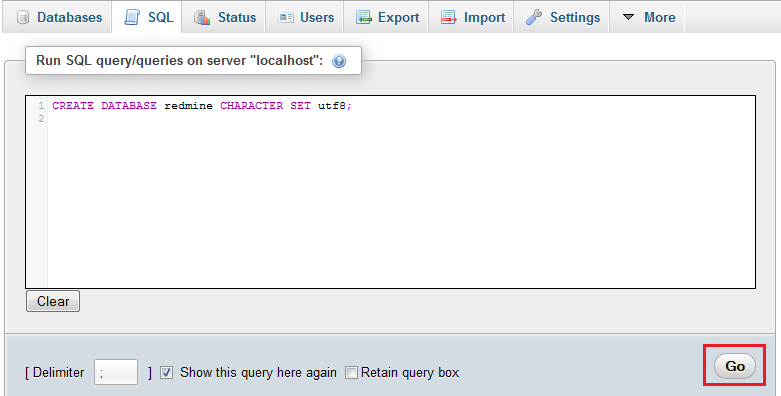
3. You’ll see the empty form for executing SQL request. Enter the following line there and click Go to create a new databese.
CREATE DATABASE redmine CHARACTER SET utf8;
4. Then navigate back to the Cloudjiffy dashboard and click Config button next to the Apache server.

5. In the opened Configuration Manager navigate to the webroot > config folder, find database.yml.example file and copy its content.
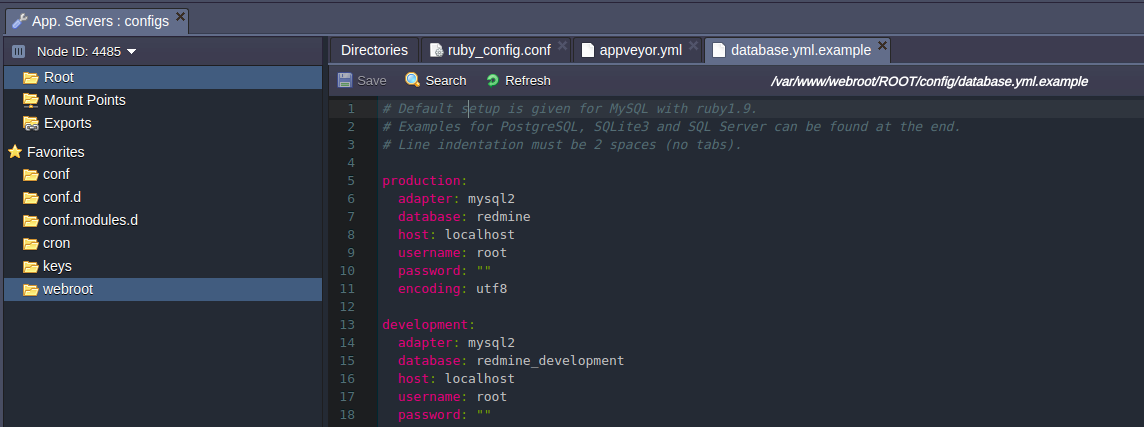
6. Then create new database.yml file in the same (config) folder and paste the copied strings to it.
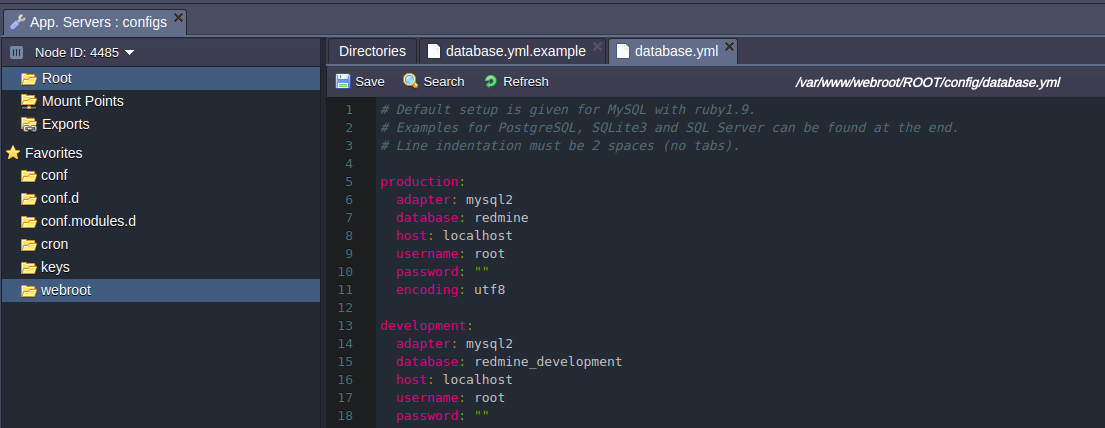
7. Now you need to configure the connection to DB using the data of your MYSQL database.
Section for custom configurations should be chosen depending on the deployment type you’ve selected while environment creation (production in our case).
Specify MySQL host (URL to your database without http://) and credentials you’ve received while environment creation in username and password strings.
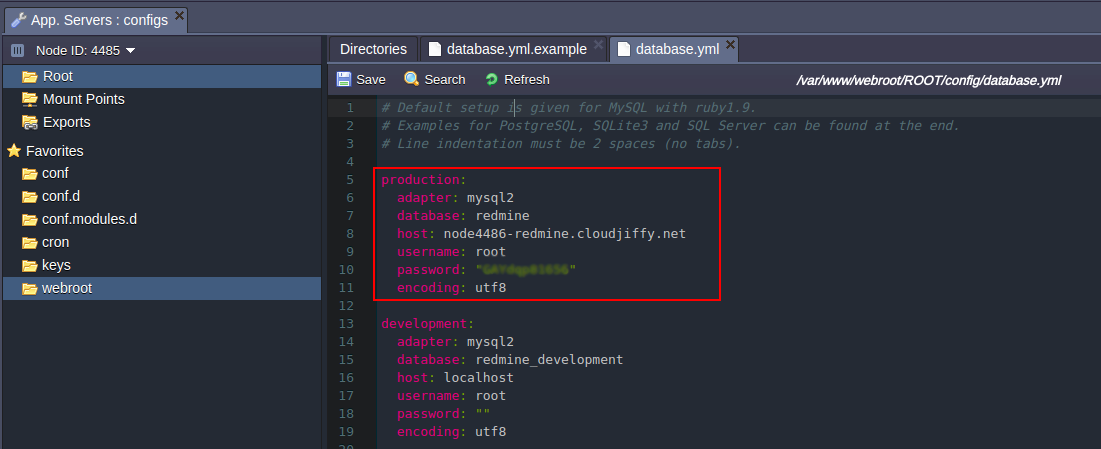
| Note: in case you are going to change the deployment type to another one (development or testing) later, you should specify these connection parameters in all appropriate sections also. |
8. Save the changes made.
D. Application Server Configurations
1. Click Config button for Apache node in your environment.

2. In the webroot folder create a new file and name it rake_deploy.
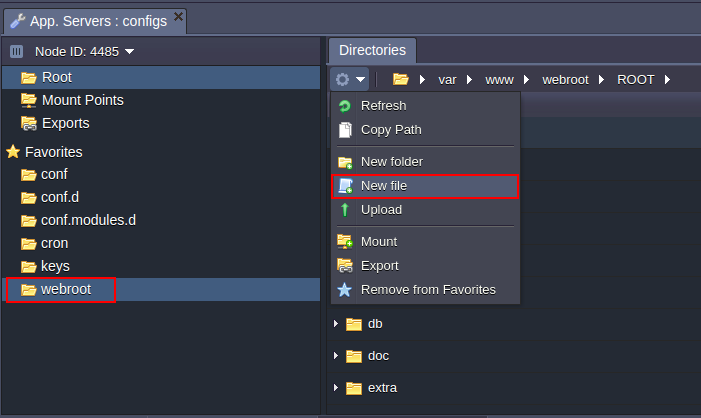
3. Paste the following strings into the newly created file:
generate_secret_token
db:migrate
redmine:load_default_data
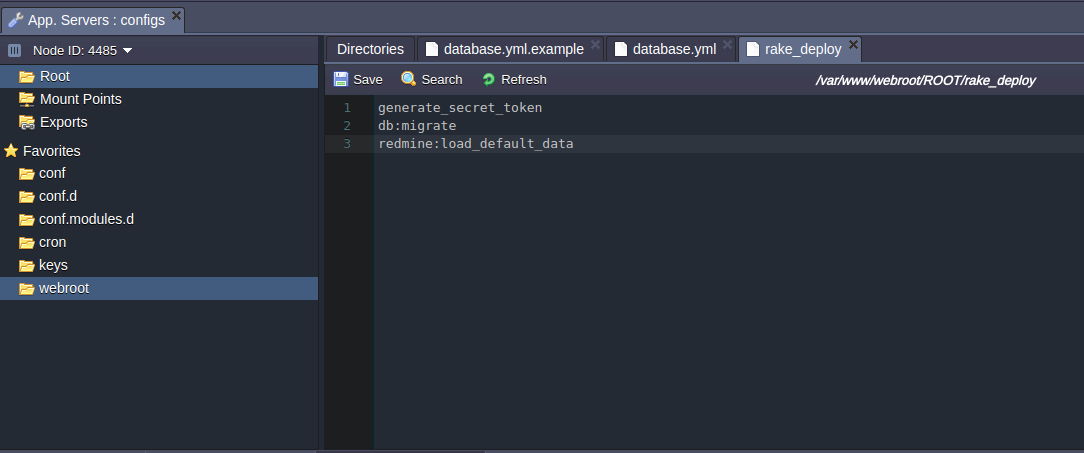
4. Save the changes and Restart Apache node.

5. Finally, press the Open in browser button next to your environment.

Your Redmine application’s home page will be open.
That’s all. Now you have your own Redmine application up and running in Cloudjiffy Cloud. Enjoy!