All of the supported virtual private server types at CloudJiffy (i.e. based on CentOS, Ubuntu, and Windows) share the similar installation flow and the main management options. So, to get my Elastic VPS hosted and configured inside the CloudJiffy PaaS, follow the next instructions on how to:
- create VPS
- scale server
- manage instance
Elastic VPS Installation
To setup my VPS inside the CloudJiffy PaaS, follow the next steps.
1. Click the New Environment button at the top pane to access environment topology wizard.

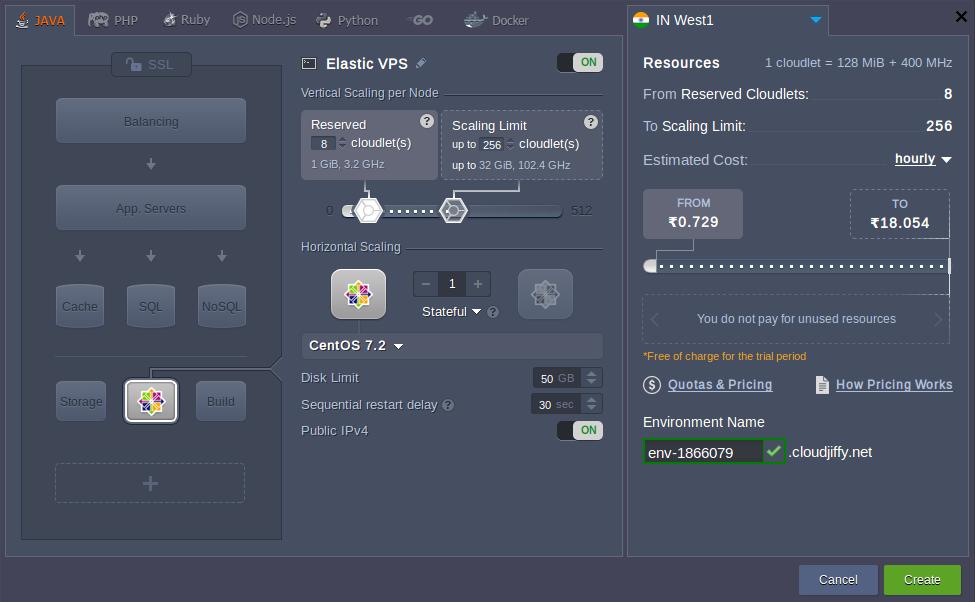
2. Herein, click on the VPS section at the bottom left corner and choose the needed VPS (CentOS 7.2 in our example) from the expandable options list.

Note: When enabling VPS of any type, I’ll automatically get the Public IP address(es) attached to the corresponding node (one per instance).
Specify cloudlet limits for this node, scale it out (if required), select the preferred region (if several of them are available), type the name of the environment and click on Create.
3. In a couple of minutes, my new environment with the chosen virtual server will appear at the dashboard. I’ll also receive an email notification with its administration data (i.e. login/password credentials, attached Public IP and access URL).
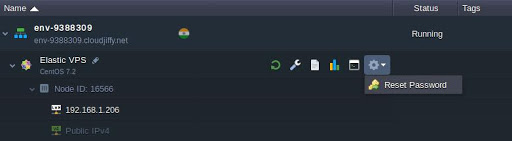
Also, I can view the Public IP address directly in the dashboard. If I’ve lost access to my VPS server or want to change the admin credentials for it, click the Reset Password button as it is shown in the image above.
Elastic VPS Scaling
The flexibility of VPS hosting in CloudJiffy PaaS is achieved due to automatic scaling, both vertical and horizontal, that is easily tuned during environment topology creation and configuration.
Automatic vertical scaling is ensured by systems ability to provide the required resources due to load. Herewith, I can choose the scalability limits for my server, which prevents outages during unexpected load spikes and at the optimize hosting costs.
To scale my environment, I need to increase/decrease the maximum number of available resources (cloudlets) by adjusting the cloudlet sliders in the Vertical Scaling per Node section.
CloudJiffy horizontal scaling functionality allows to easily adjust the number of servers in my environment using the appropriate “-” and “+” buttons. Herewith, I can select the preferred scaling mode:
-
Stateless - simultaneously creates all new nodes from the base image template
-
Stateful - sequentially copies file system of the master container into the new nodes
Make sure to Apply changes I’ve made.
Elastic VPS Inbuilt Tools
Most of the basic configurations on my VPS instance can be performed directly via dashboard UI with a set of inbuilt tools, provided by CloudJiffy.
Note: The configurations on the Windows VPS can be applied via the connection only.
The in-built configuration file manager is designed to manage (create/delete, upload/download, edit) files inside my container, as well as setup mount points and manage exported data.
The appropriate tab can be opened by clicking on the Config button next to the necessary VPS node (or the whole layer).
Log Files
Logs tracking is a useful option for the efficient management of my VPS. Here, data on all aspects of my container(s) lifecycle is gathered, which may come in handy while troubleshooting and debugging my applications and services.
The appropriate section can be accessed by clicking on the Log button next to the necessary VPS node (or the whole layer).
That's All!