Create an environment
1. Log into my CloudJiffy account and click Create environment.
2. As the window appears to pick MongoDB as my database and set the resource limits for it. After that, specify the name of my environment and click Create.
In a few minutes, my environment will appear on the dashboard.
3. Open MongoDB in a web browser, login into the RockMongo admin panel using the credentials, which CloudJiffy has sent me while creating the environment and then create my new database.
Configure MongoDB backup
1. Click the Config button for the database for further MongoDB backup configuration.

2. Move to the scripts directory and navigate to the backup_script.sh file. Find the next string and set me values:
MONGO_USERNAME="admin";
MONGO_PASSWORD="";
DAYS_TO_STORE=3;
In this case and are my database credentials which I should have received via email while creating the CloudJiffy environment.
is the time period of storing the backup files (the default value is 3).
Don’t forget to save the changes!
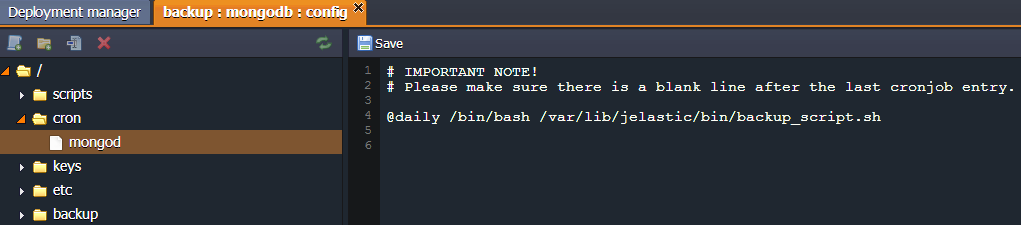
3. Go to the cron directory and open the mongod file. Uncomment the next string to backup my database once per day (at night) due to default configurations:
@daily /bin/bash /var/lib/jelastic/bin/backup_script.sh
4. In the case that I want to backup, my database with another frequency, configure how often the script should run by adding the cron settings instead of the default value (@daily).
For example, if I want to backup my database every ten minutes, the string will look like the following:
*/10 * * * * /bin/bash /var/lib/jelastic/bin/backup_script.sh

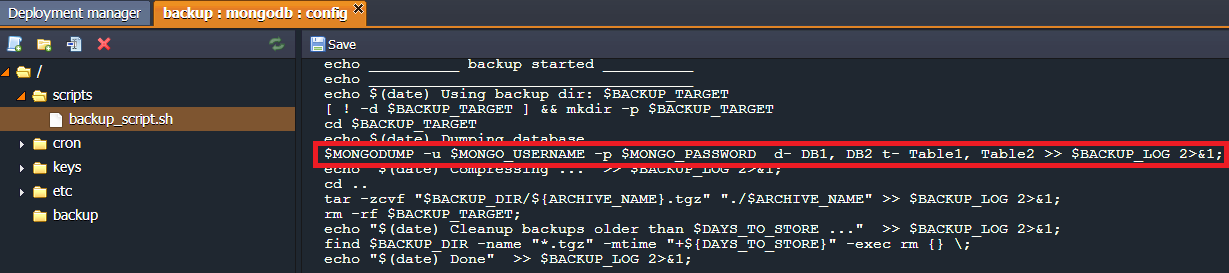
5. Navigate to the scripts directory and specify the next configuration in the backup_script.sh file to backup specific databases or tables:
- to configure multiple database backups:
-d {db_name}
$MONGODUMP -u $MONGO_USERNAME -p $MONGO_PASSWORD -d DB_NAME1, DB_NAME2 >> $BACKUP_LOG 2>&1;
- to configure database tables backup:
-t {table_name}
$MONGODUMP -u $MONGO_USERNAME -p $MONGO_PASSWORD -d DB_NAME1 -t TABLE_NAME1, TABLE_NAME2 >> $BACKUP_LOG 2>&1;
Note: I can use multiple values for databases and tables separated by commas. I have to specify the name of the database where these tables are placed to set the database tables backup.
Check MongoDB backup
1. Wait until the time that my scheduled the MongoDB backup.
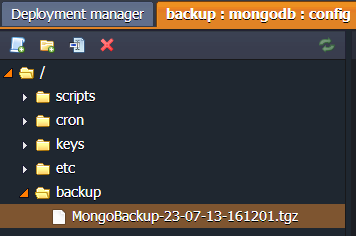
2. Go to the Configuration tab and navigate the backup directory (/var/lib/jelastic/backup). I’ll find .tgz files with all executed backups there.
Download backup
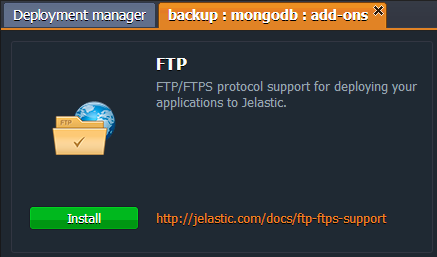
1. Install FTP for my database server as it’s described in our “FTP/FTPS support in CloudJiffy” guide.
2. Connect to the MongoDB database using any FTP client (e.g. FileZilla) and download my backup files.

Restore files from a backup
1. Unzip the backup package I've downloaded earlier and navigate to the folder named as the database or the collection I want to restore. Then find the collection bson file in there.
2. Convert the bson file into json format using the next command:
bsondump my.bson > my.json
Note: I need to have MongoDB installed on my local machine. Locate my bson file in the mongodb…/bin folder and run the above command under this directory. The generated json file will be stored in the same folder.
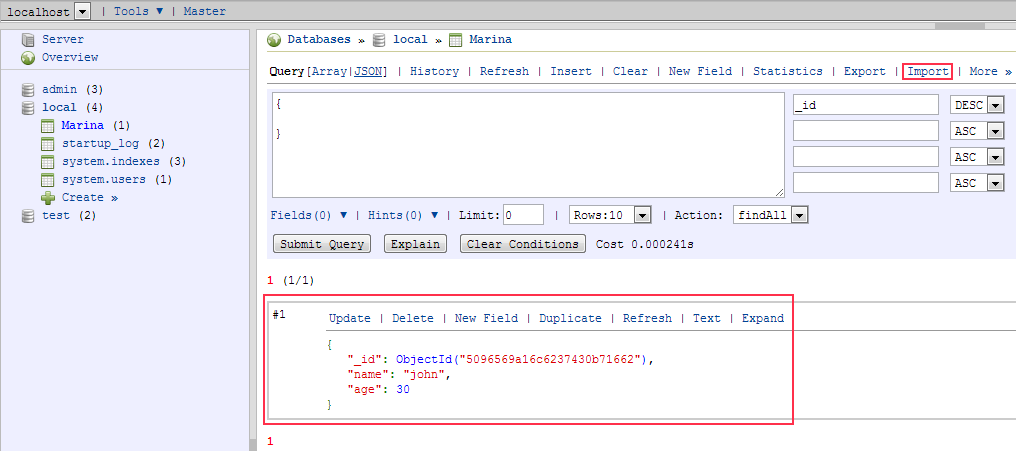
3. Open MongoDB in a web browser and navigate to the database where I want to restore my data or create a new one.
4. Import my json file to the collection where I would like to have it located. And that’s all! My data has been successfully restored.
As I can see, it’s quite easy to get my MongoDB backup files in the Cloud. Now, all of my data is safe and I can restore and reuse it whenever I need. Enjoy!