Install cpanel in elastic VPS-
1. Firstly, log in to my CloudJiffy account and access environment topology wizard.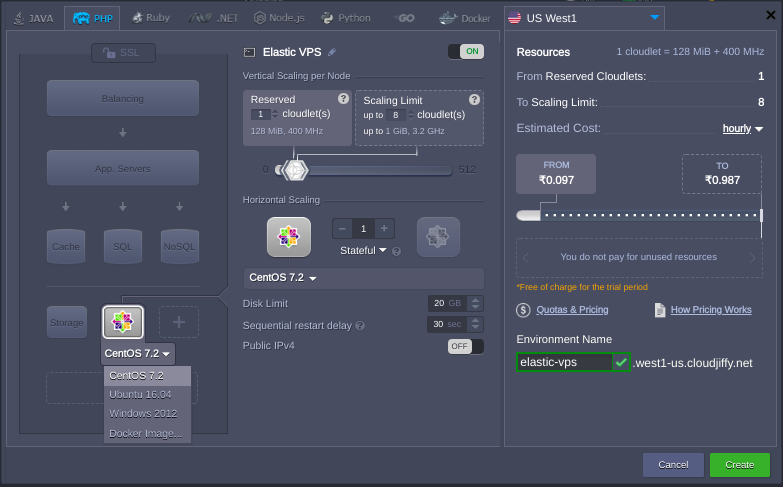
2. Herein, click on the VPS section at the bottom left corner and choose the needed VPS (CentOS 7.2 in our example) from the expandable options list.
3. Specify cloudlet limits for this node, scale it out (if required), select the preferred region (if several of them are available), type the name of the environment and click on Create.
4. In a couple of minutes, my new environment with the chosen virtual server will appear at the dashboard. I’ll also receive an email notification with its administration data (i.e. login/password credentials, attached Public IP and access URL).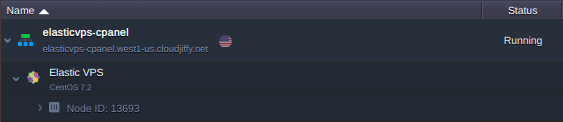
5. Now, my virtual private server is up and running.
6. I can view the Public IP address directly in the dashboard. If I’ve lost access to my VPS server or want to change the admin credentials for it, click the Reset Password button as it is shown in the image above.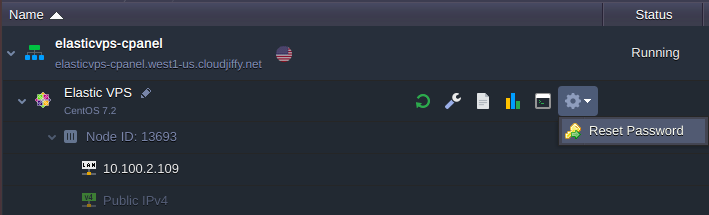
To install cpanel/WHM on elastic VPS:
1. Take a SSH from my VPS server.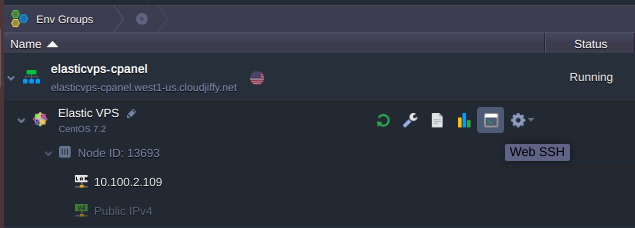
2. I can easily install package perl-Exporter by the command:
yum update -y
yum install perl-Exporter"
3. I can install cPanel via below command-
cd /home && curl -o latest -L https://securedownloads.cpanel.net/latest && sh latest
That's All!