In order to create your own collaboration, you need to have a billing Cloudjiffy account and invite additional customers/users to use your account. Follow the instruction below to perform this:
1. Select the Settings button in the right top corner of the Cloudjiffy dashboard.

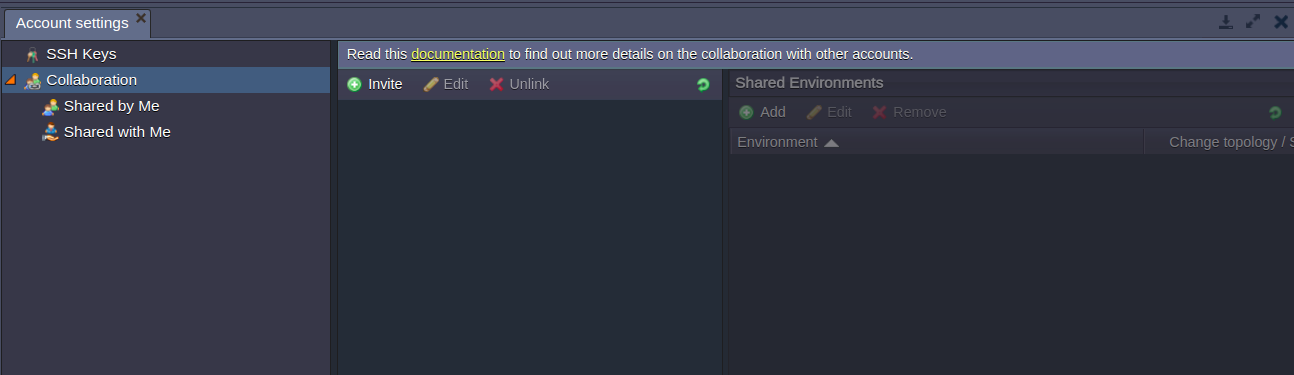
2. You will see the Account Settings tab opened. Expand the Collaboration item to see two additional sections:
- Account Management
- Shared with Me
Navigate to Account Management.
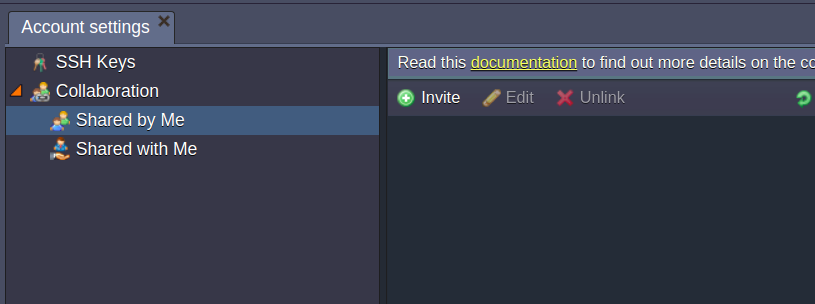
3. Using the buttons in the left subsection, you can invite users to join your collaboration, edit their rights or exclude them.
Select the Invite button.
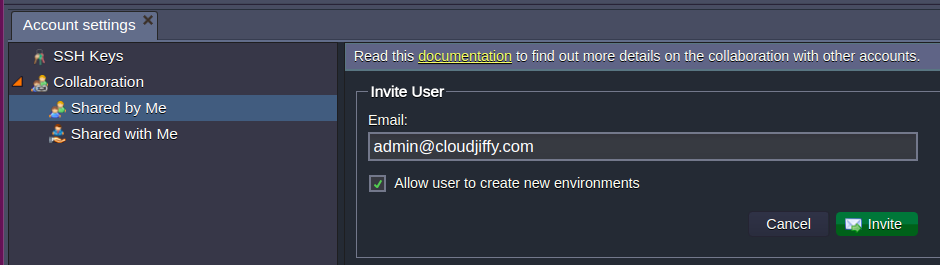
4. In the opened window, enter the email of the required user.
Tick the “Allow user to create new environments” line if you would like to give such permissions.
Click the Invite button.
5. The specified user will receive an invitation email with a confirmation link which remains active over the following 7 days (the period can be changed via the Cloudjiffy cluster admin).
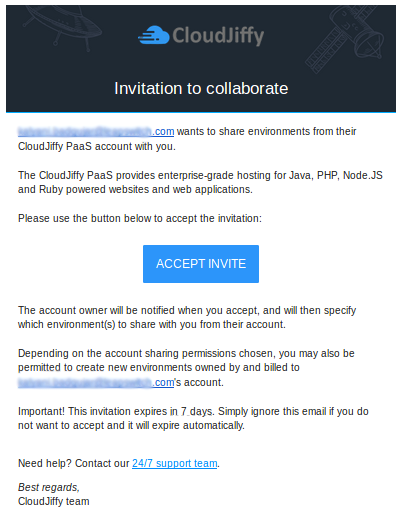
After acceptance of the invitation by clicking the confirmation link, a user will be redirected to the Cloudjiffy dashboard without the necessity to enter any credentials.
If a user wasn’t registered at Cloudjiffy before, the account will be automatically created and a user will be notified via email.
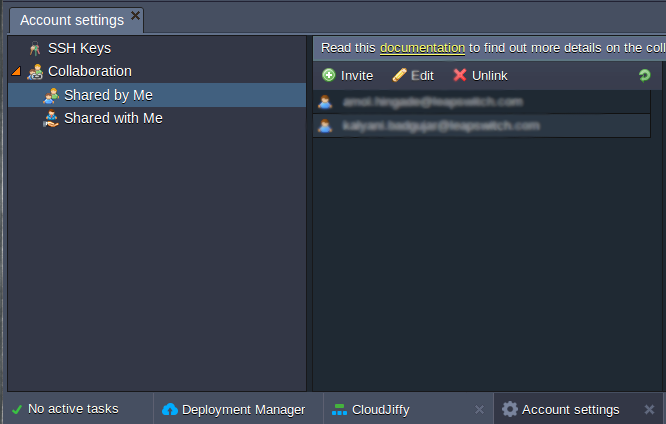
6. After confirmation, a user will appear in the list of collaboration’s members.
Users are marked with two different icons:
- green - with permission to create environments on the primary account
- blue - without permission to create environments on the primary account