In order to bind custom domain name to such environment, a special CNAME (canonical name) redirect should be configured. It specifies an alias for a canonical name record of my environment in a Domain Name System (DNS) database.
So, to set custom domain for my project instead of the default env_name.{hoster_domain} link by means of CNAME, follow the step-by-step instruction below:
1. Log in to my domain registrar and add canonical name (CNAME) for the preliminary bought external domain so it points to my Cloudjiffy environment URL, e.g.:
www.myexternaldomain.com CNAME env_name.{hoster_domain}
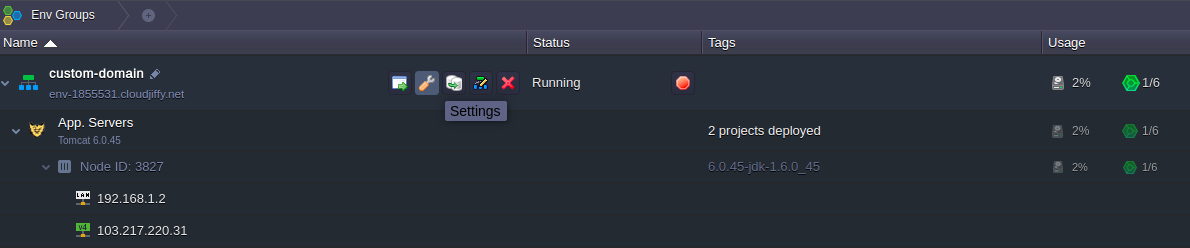
2. Next, switch to the Cloudjiffy dashboard and click the Settings button (the wrench icon) for the environment I need to bind this domain name to.
3. Within the automatically selected Custom domains menu tab, use the Domain binding section to specify my domain name (e.g. www.myexternaldomain.com) and Bind it with the corresponding button.
Note: It may take up to several minutes until the new URL settings will take effect.
Amazing! I can access my environment under its unique domain name.