In CloudJiffy there is the automatic function of the whole project deploying in one archive or using URL.
To add a new application package to the dashboard do the next steps:
1. Upload my application package (PHP script) by clicking Upload in CloudJiffy Deployment Manager.
2. Browse to my local file. The CloudJiffy Deployment Manager supports .tar, .tar.gz, .zip and .bzip2 formats.
Note that the maximum available size of the uploaded local file is 150 MB. If my application size exceeds this limit, please use the URL for uploading.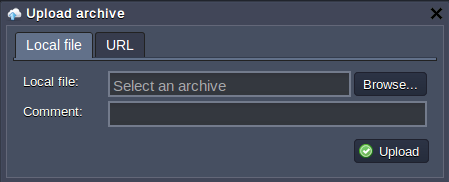
3. To add a new application package via URL (http://, https:// or FTP://) navigate to the appropriate tab and enter there the required link.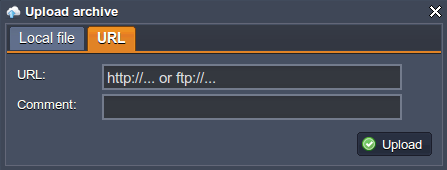
NOTE:
-
Upload manager just links to the file
-
If I can modify my linked file but do not change the link to it there is no need to enter URL again
-
If the FTP server needs authorization I'll have to put my URL in the following format:
ftp://{login}:{password}@{server_name}/{path_to_file}/{MyPackage.*}
-
If I happen to select a file with an unsupported extension or I enter an incorrect URL, I will get an error message informing me of it.
4. Click Upload and track the progress of the package uploading in the Tasks pane. Once the file is uploaded, it gets listed along with all my previous packages. Once uploaded, I have access to the Deploy and Delete options for that file.
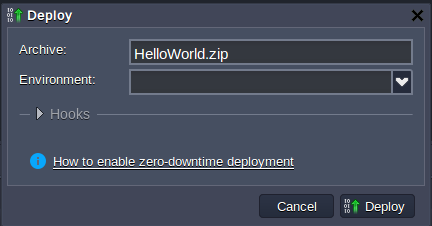
5. Select my package in the list and click Deploy to the drop-down menu.
6. Choose the environment where I want to deploy my web application. In the opened window, specify the application's target context (if I want to deploy several projects into one server). Click Deploy.