Node.js Application Connection to MongoDB
MongoDB is a popular NoSQL databases, which is natively supported by Cloudjiffy and can be easily installed on the Cloud. Below, we’ll consider a simple example of how to connect this DB stack from your Node.js application server.

In our case, both instances are hosted within a single environment.
3. Next, download and install an official MongoDB driver for Node.js
In a moment the package will be successfully installed.
4. Now, create a file with a script to establish connection with your database. you can use any preferable text editor for this task, as well as any filename with the .js extension (e.g. vim script.js).
|
1
2
3
4
5
6
7
8
|
var MongoClient = require('mongodb').MongoClient;// Connect to the dbMongoClient.connect("mongodb://{user}:{password}@{host}:{port}/{database}", function(err, db) {if(!err) { console.log("I am connected!"); };db.close();}); |
Here, you need to adjust the connection string (all the required information is provided within email for your MongoDB node):
- {user} - username to log into database with
- {password} - password for the appropriate user
- {host} - link to your MongoDB container
- {port} - port to be used for connection (use the default one - 27017)
- {database} - database to be accessed (e.g. the default one - admin)
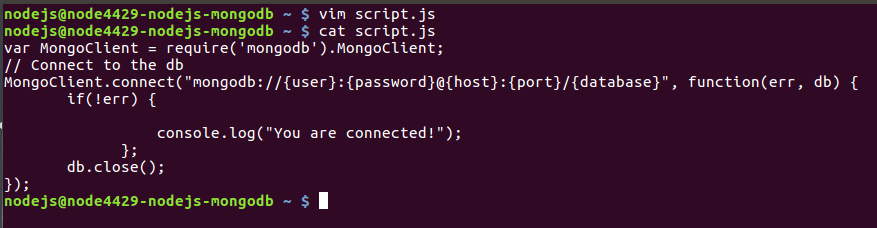
With this script you can access the specified database server and, if connection is successfully established, see the “you are connected!” phrase.
5. Let’s run the code, using the appropriate command:

If everything is specified correctly, you should see the “you are connected!” string within terminal. Next, you can extend code to execute all of the required actions.