Master-slave replication is used to enables data from one database server (the master) to be replicated to one or more database servers (the slaves).
Let’s examine a simple example of how to configure master-slave replication on the platform.
Manual Installation
If you prefer to configure the Master-Slave replication in order to get more slave replicators or specify some custom configurations, please, follow the instruction below.
Create new environments by following below steps -
Tip: The instruction below is fully suitable for both MySQL and MariaDB database servers.
First of all, we create two environments for our master and slave databases.
- Log in to the platform dashboard and click the New Environment button.

2. In the Environment Topology wizard, pick MariaDB (or MySQL) as a database you want to use. Set the cloudlet limit and type the name of your first environment, for example, masterbase (Synctest)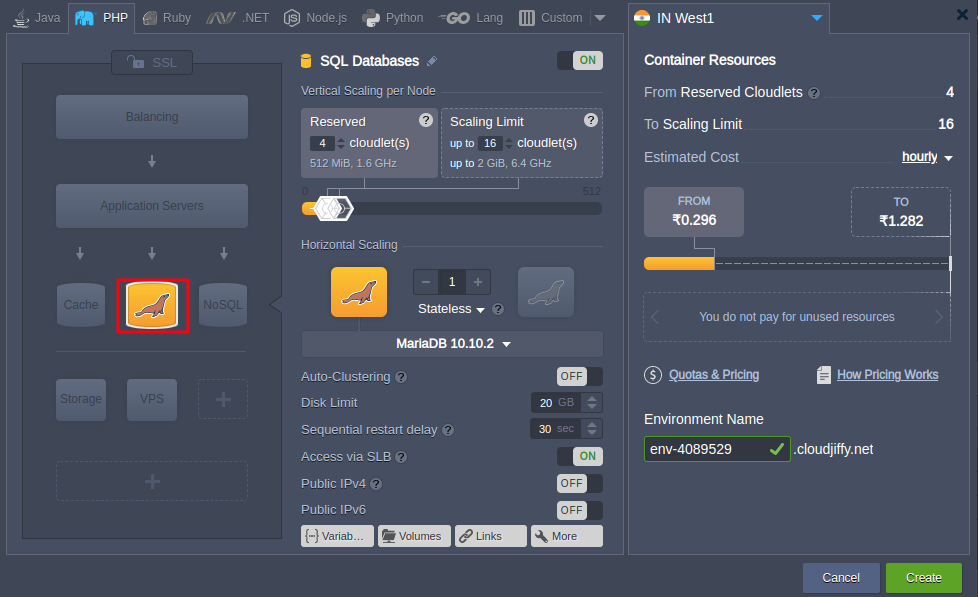
Wait just a minute for your environment to be created.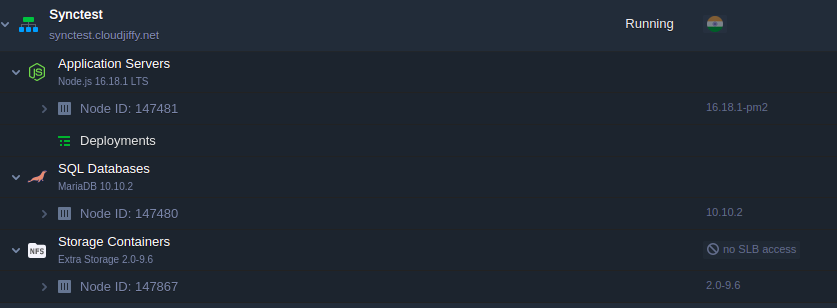
3. In the same way, create one more environment with MariaDB or just clone it. Let’s name it slavebase. It will be located on the other hardnode, which is even more secure and reliable for storing your data.
Now you have two identical environments with two databases.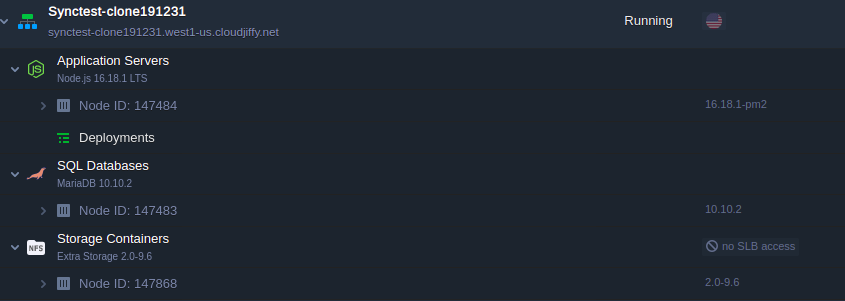
Configure Master Database
Let’s configure the master base (Synctest) now.
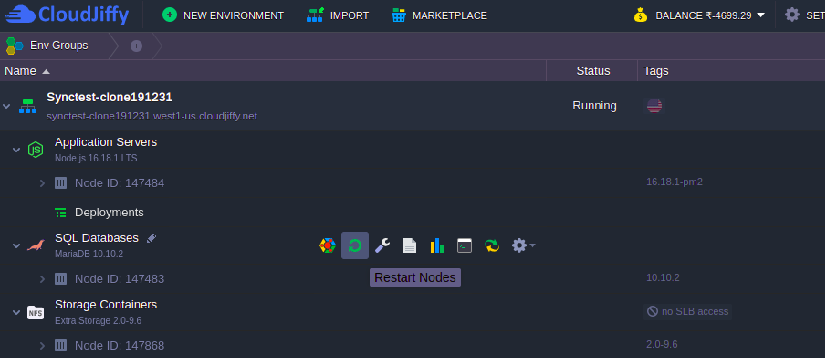
1. Click the Config button for your master database.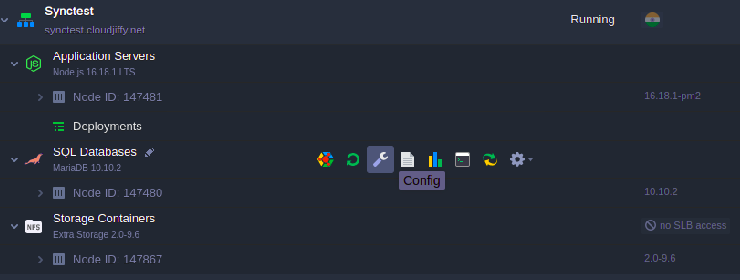
2. Navigate to the my.cnf file and add the following properties as it is shown below:
| 1 2 3 |
server-id = 1 log-bin = mysql-bin binlog-format = mixed |
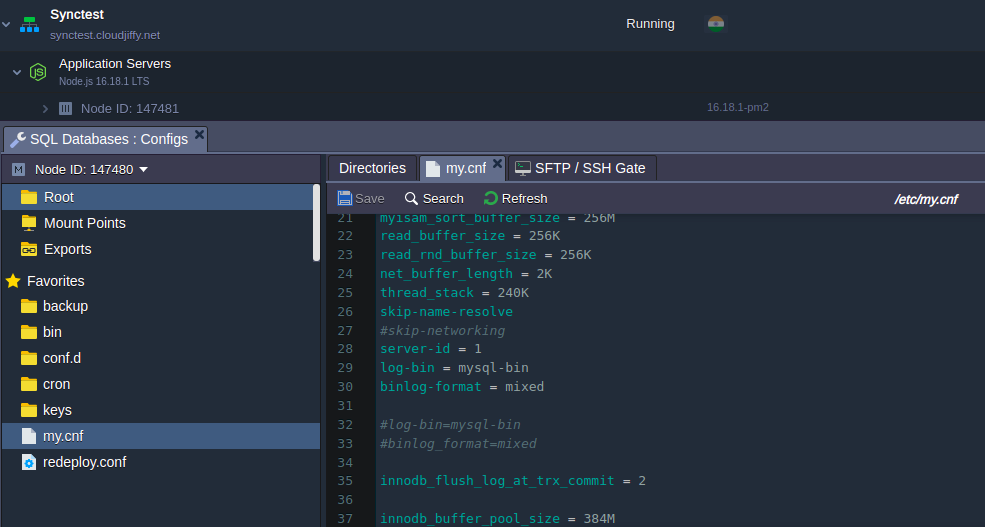
We use the “mixed” binlog format (binlog-format = mixed) to allow a replication of operations with foreign keys.
3. Save the changes and Restart MariaDB in order to apply the new configuration parameters.
4. Click the Open in Browser button for MariaDB. The platform have sent you an email with credentials to the database. Log in using these credentials.
5. Navigate to the User accounts tab and click Add user account.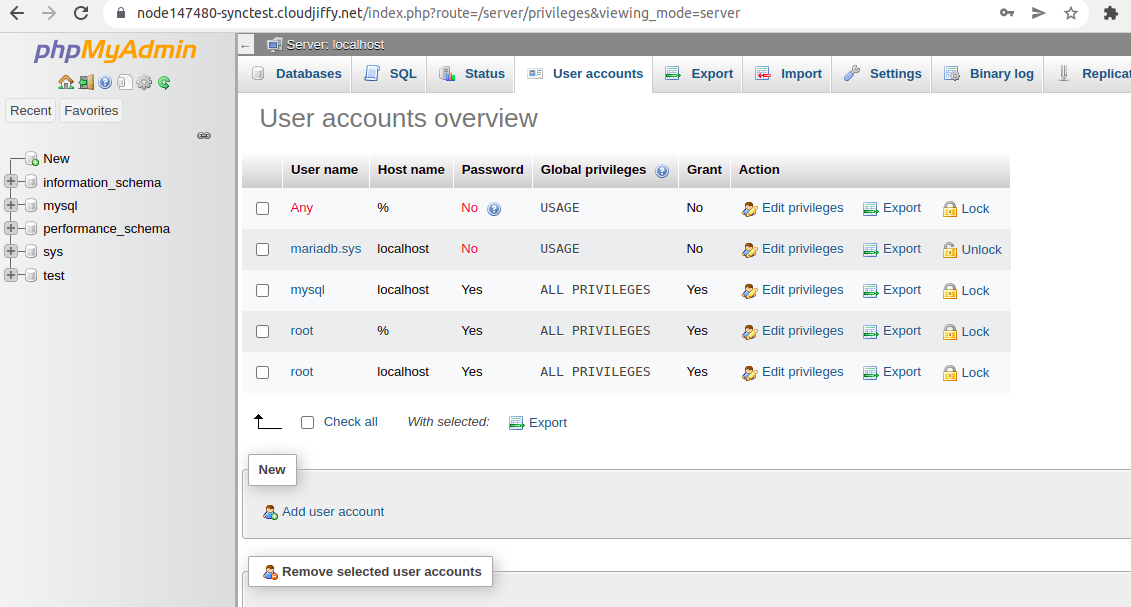
6. Specify the name and password for your slave replication user.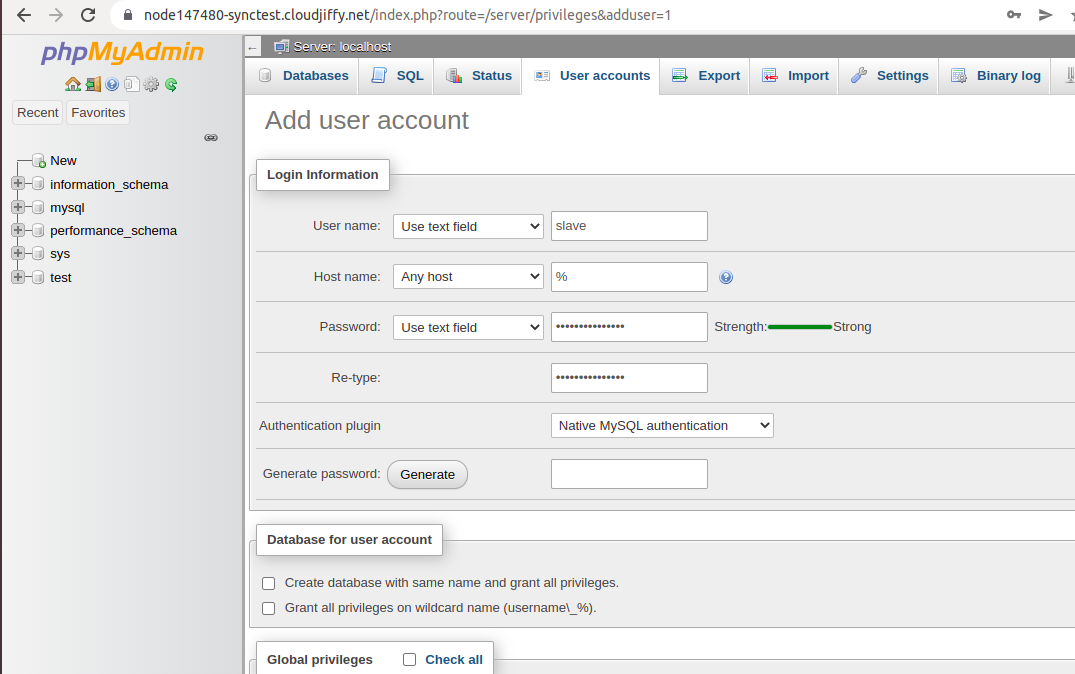
Now, scroll down and tick the replication client and replication slave administration privileges.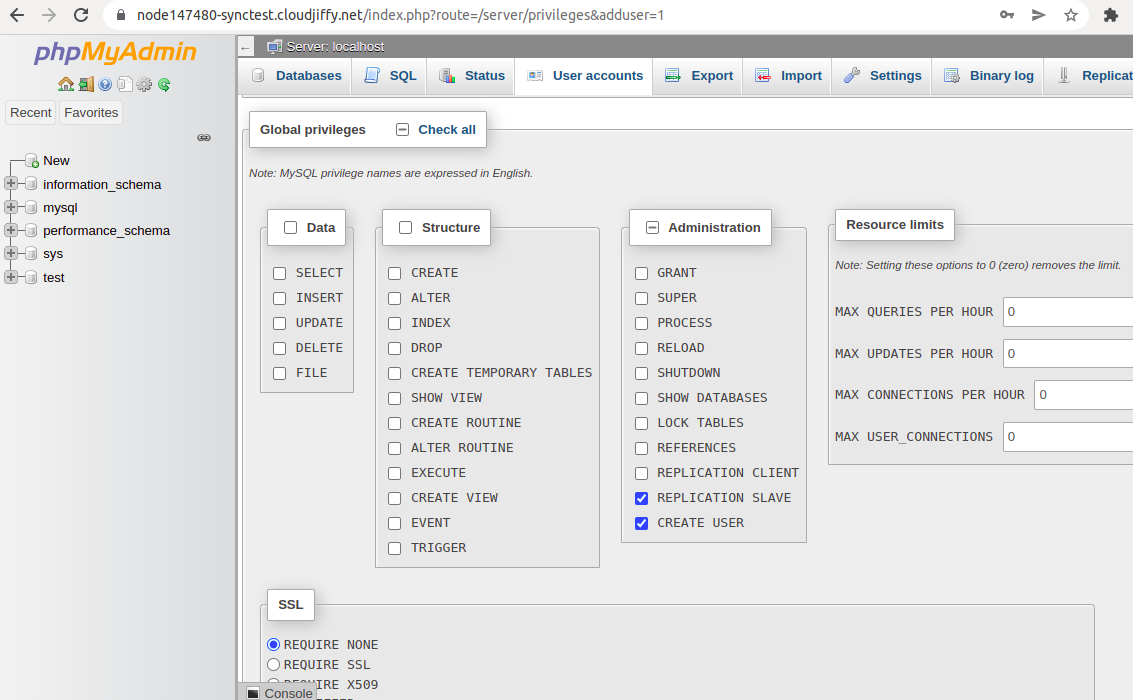
Click Go at the bottom of the page.
7. Switch to the Status tab to ensure that replication is configured correctly.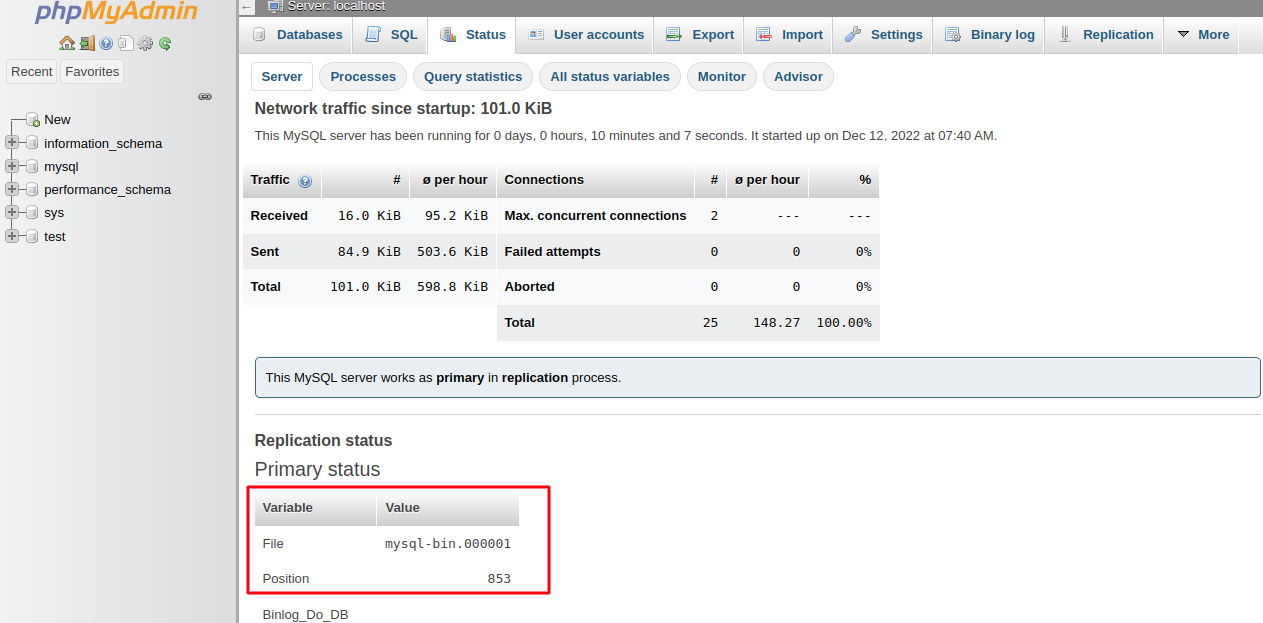
Pay attention to the log File and Position values, as they will be needed later to set up the slave database.
Configure Slave Database
Let’s go back to the platform dashboard and configure your slave database.
1. Click the Config button for your slavebase environment.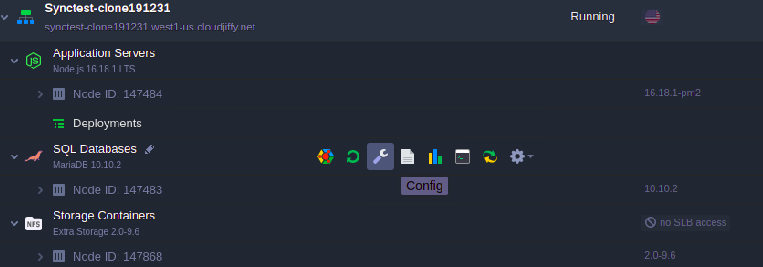
2. Navigate to the my.cnf file and add the following strings:
| 1 2 |
server-id = 2 slave-skip-errors = all |
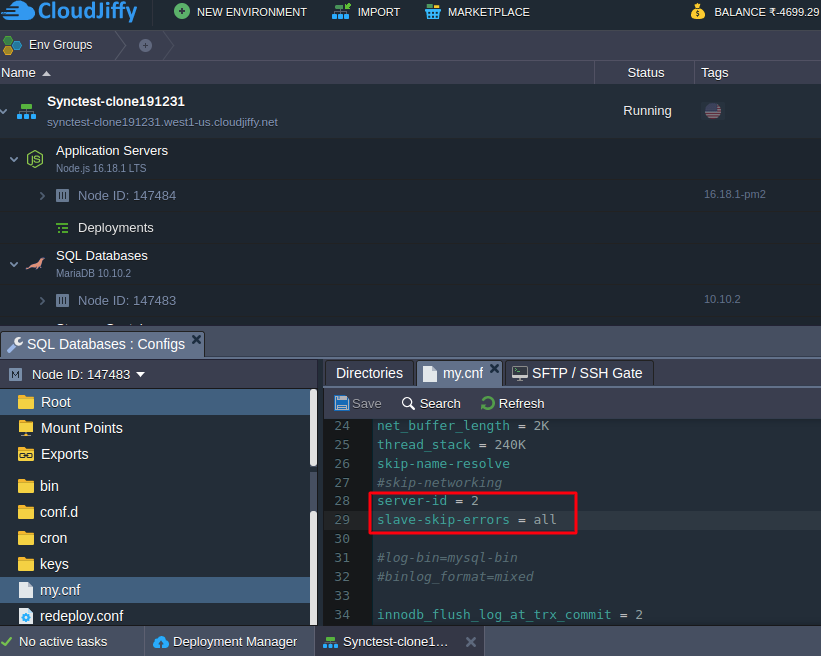
You allow your slave base to skip all errors from master (slave-skip-errors = all) in order not to stop normal slave operation in case of errors on master base.
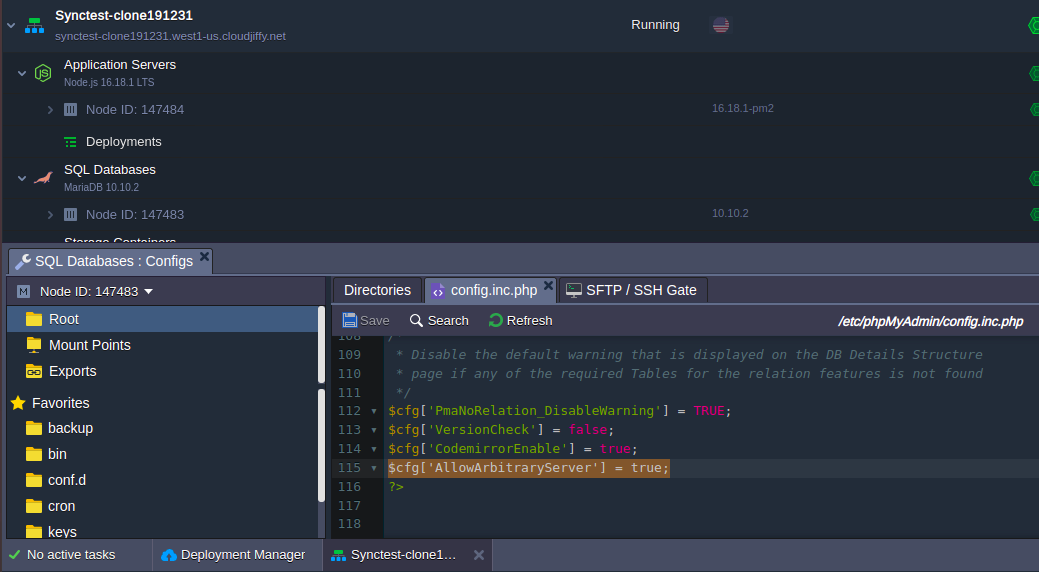
3. Next, open the /etc/phpMyAdmin/config.inc.php file and append it with the next option:
| $cfg['AllowArbitraryServer'] = true; |
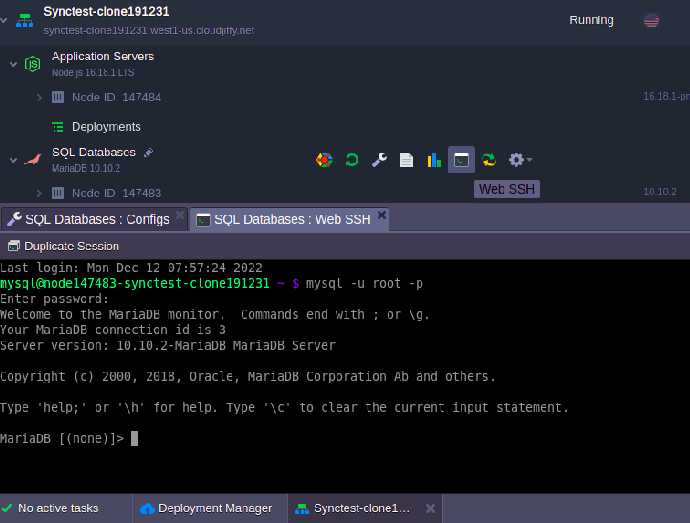
5. Let’s configure your slave database server via a built-in Web SSH client. Connect to your database using credentials from the email received after the node creation.
| mysql -u root -p |
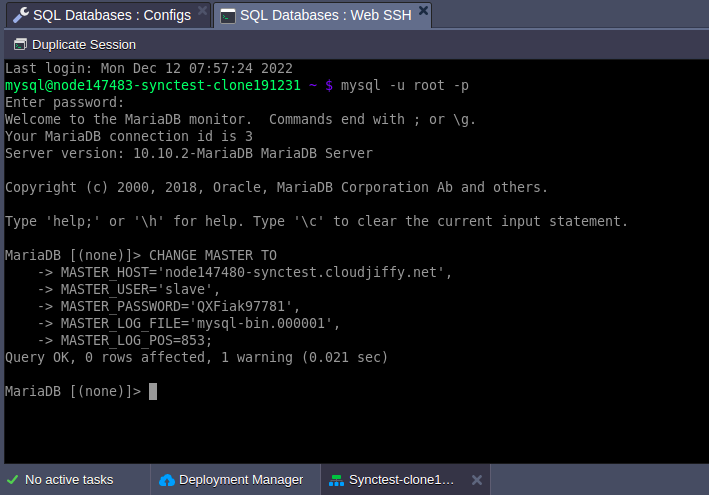
6. Provide replication master details.
| CHANGE MASTER TO MASTER_HOST='node275500-masterbase.cloudjiffy.net', MASTER_USER='slave', MASTER_PASSWORD='passw0rd', MASTER_LOG_FILE='mysql-bin.000001', MASTER_LOG_POS=853; |
Do not forget to replace the option’s values in the example above with the correct data:
- MASTER_HOST - URL or IP of the replication master
- MASTER_USER - replication user
- MASTER_PASSWORD - replication user’s password,
- MASTER_LOG_FILE - master’s log file (see the last step of the master configuration section)
- MASTER_LOG_POS - master’s log position (see the last step of the master configuration section)
7. Now, you can start replication slave with the appropriate command:
| start slave; |

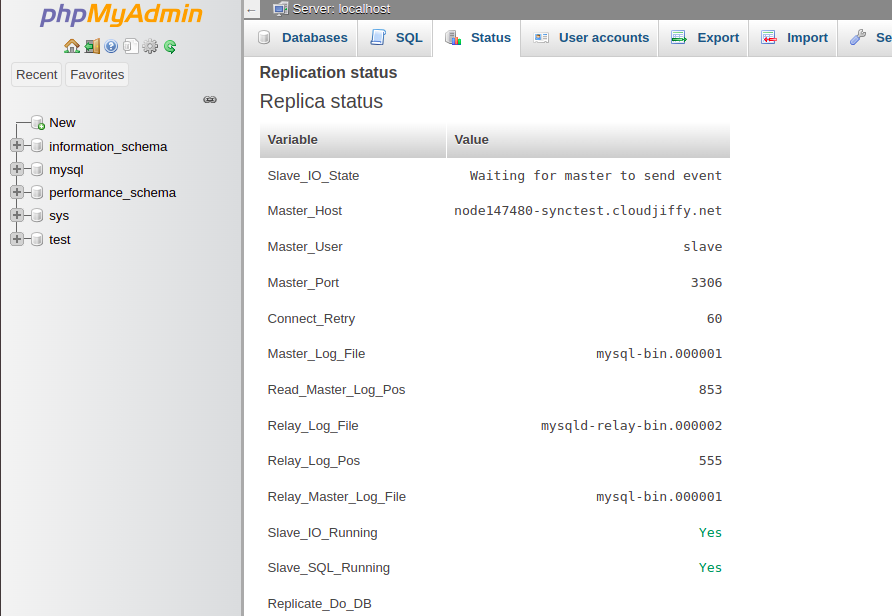
Tip: If you want to ensure that everything is configured correctly, log in to the slave database admin and go to the Status tab.
Check Results
You have to ensure now that master-slave replication works for your databases.
1. Let’s create the new database (e.g. cloudjiffy) in your master base.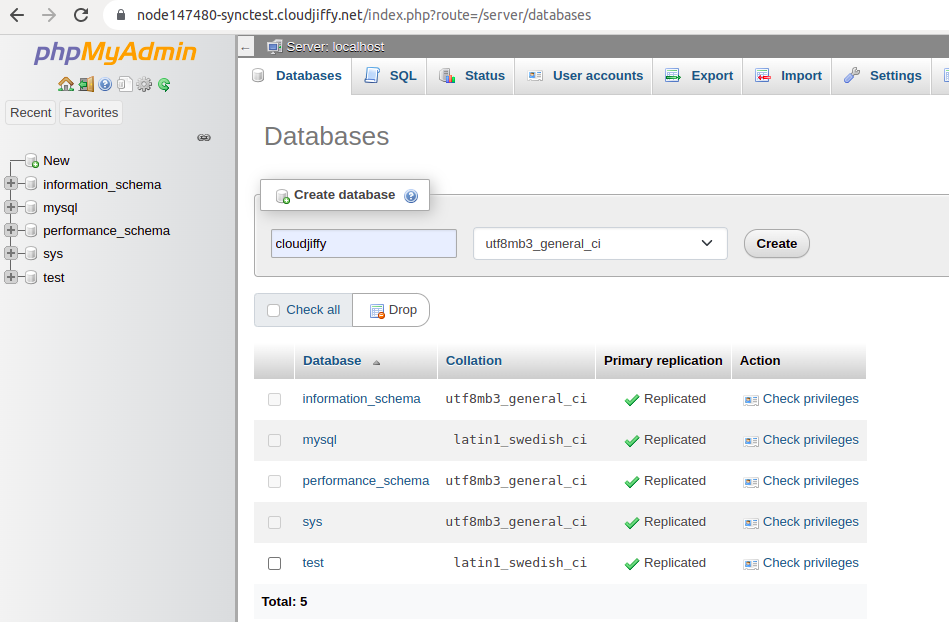
2. Navigate to the slave base, and you’ll see that the new database was successfully replicated.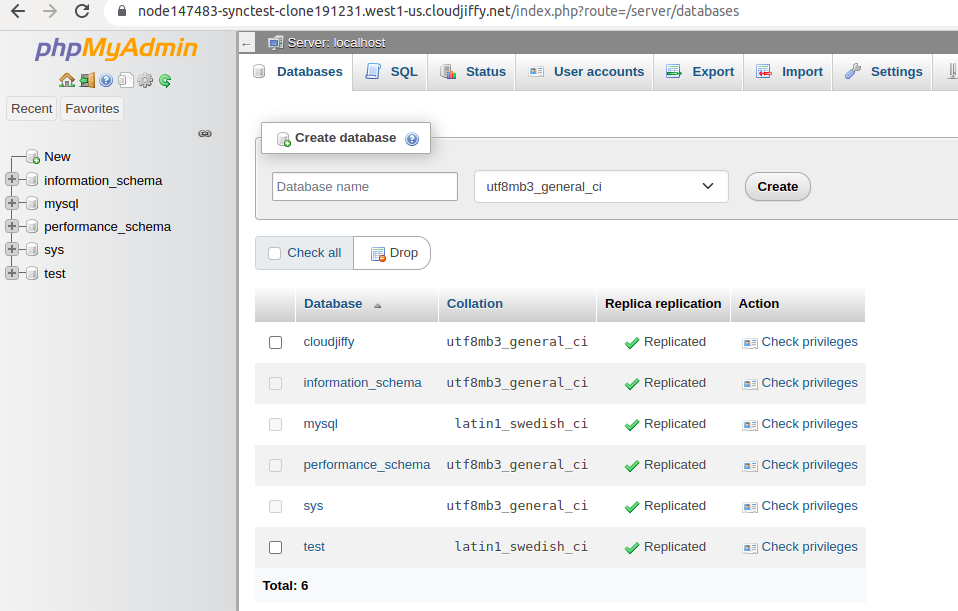
Now, you have your own database replication in the cloud. Enjoy!